Tuesday 8 November 2011

How to make a Cricket Bat Cake....

I started by baking a 7" square chocolate cake. Use what ever cake you fancy. Before I started cutting, I put the cake in the fridge for 30 minutes, so when I cut the cake, there's only little bit of cake crumbs.


Then I cut it in half, one half into half again and another piece from that into half. Have a look at the photo to see what I did...


Then I arranged the pieces to the shape of a bat. The biggest piece to the bottom and the medium piece above that and the thin pieces for the handle.


Then I shaped the square edges a bit to get the curved look. Then cut every piece in half and filled with Ganache buttercream and put the pieces back together and put a layer of ganache buttercream on the top. Then I put it in the fridge to firm up a bit. You don't have to put buttercream. You can straightaway use ganache.


Here is the ganache I made. If you want to have a go at making ganache have a look at this video by Inspired by Michelle.. She also got few more videos and they are amazing!!!


Here is the ganached cake.


Once the ganache is firm, I used hot water and my spatula to make it smooth.


Here is the smoothed cake..


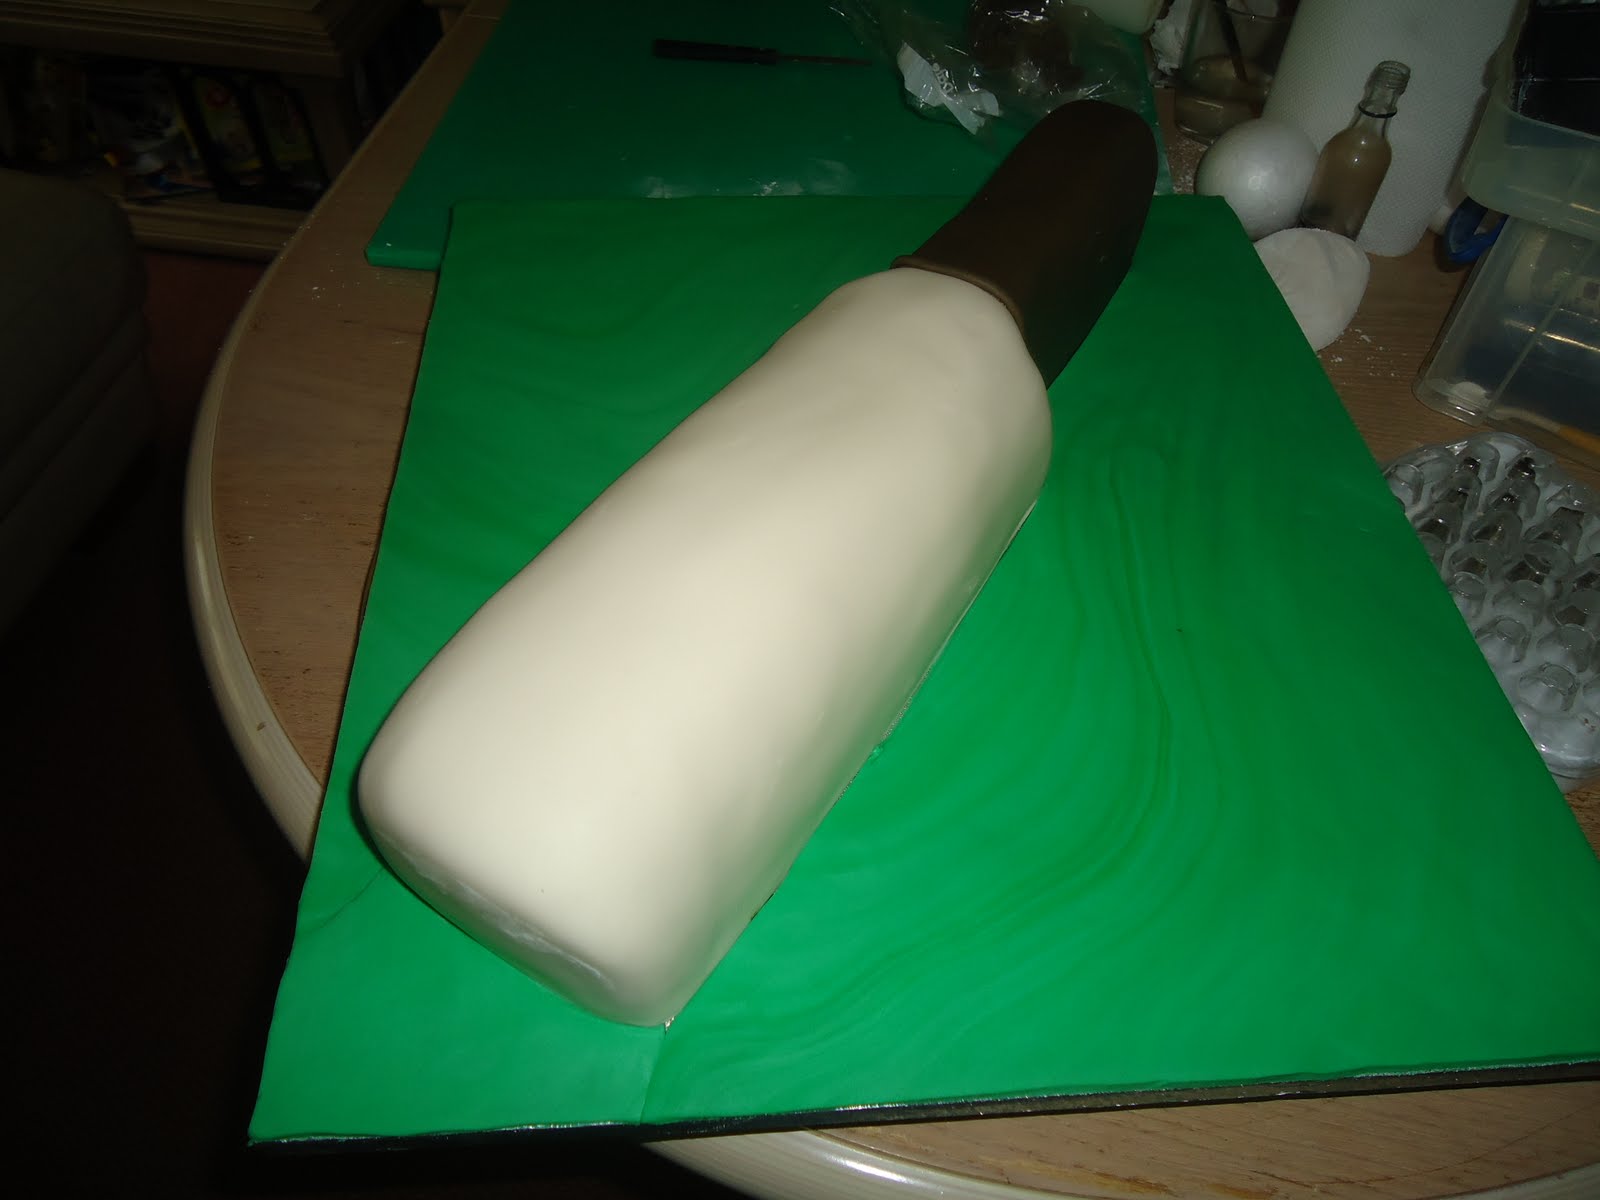
Then I covered the handle with brown sugarpaste and then covered the bat with ivory sugarpaste. Once that is done, I covered the board with green sugarpaste. Then added a thin sausage from sugarpaste around the edge of the bat.


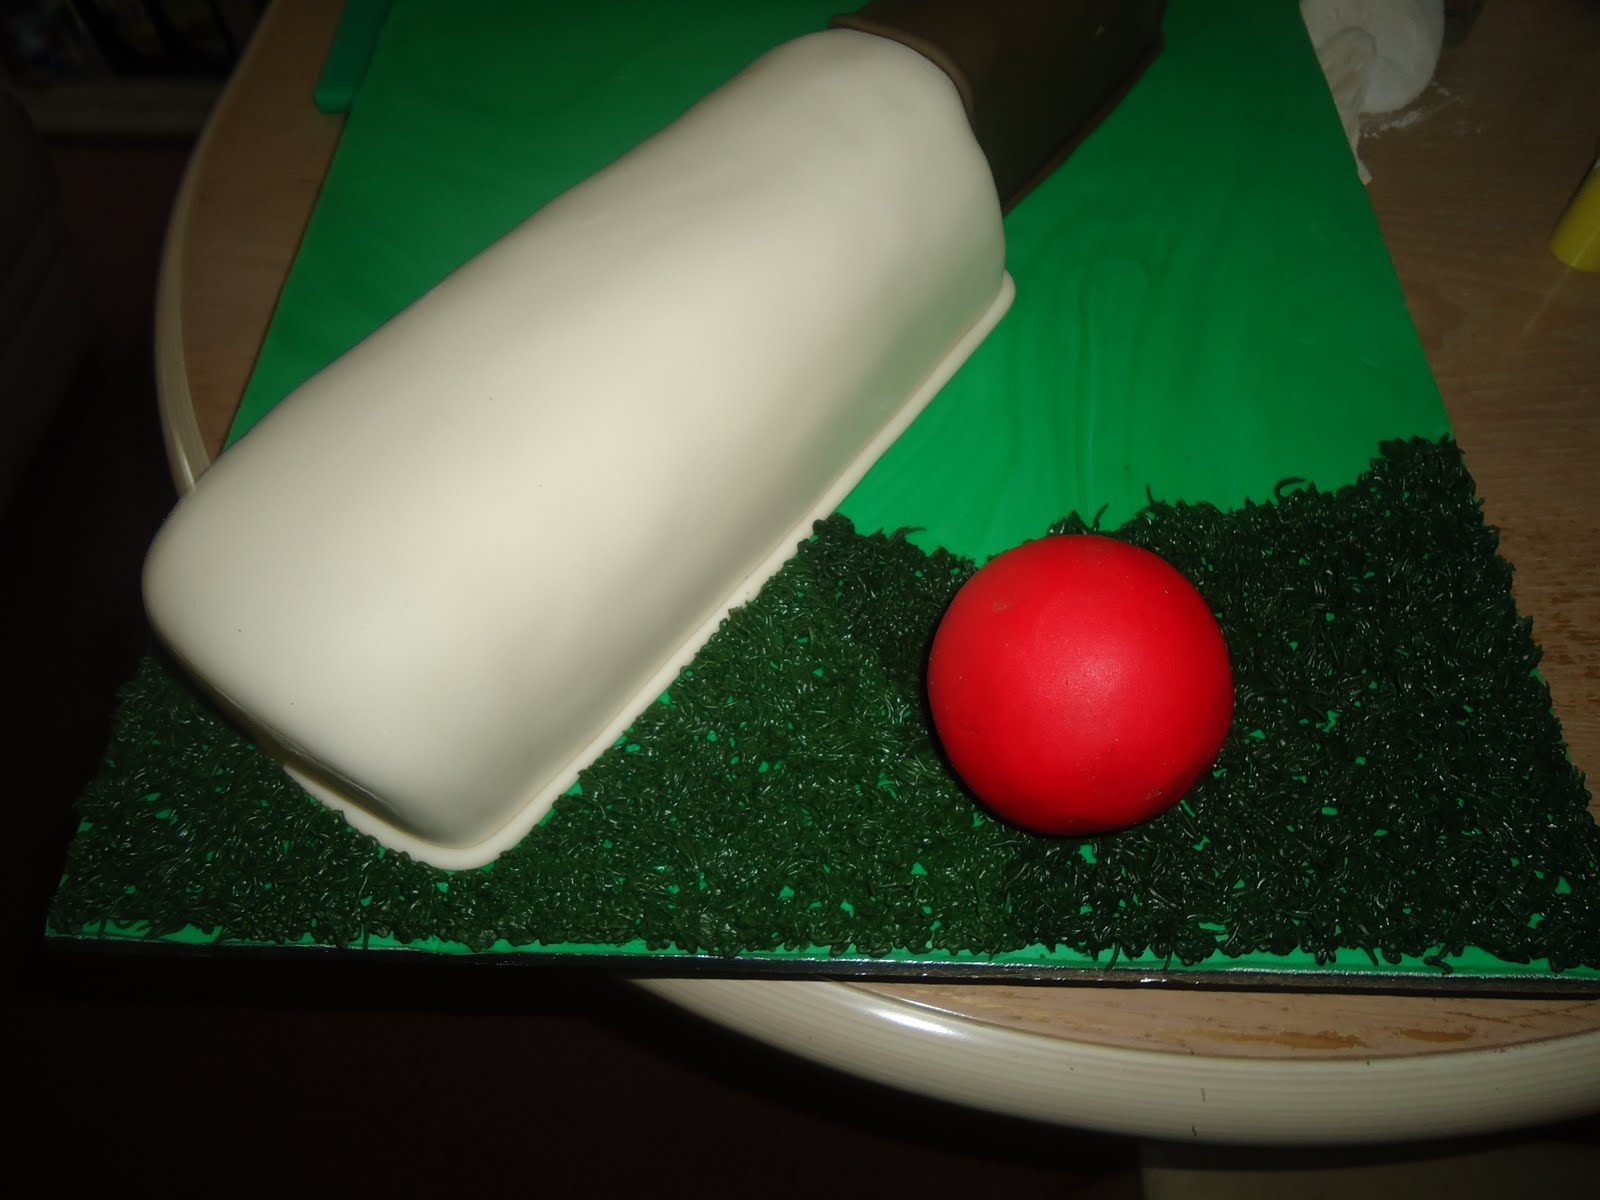
I had some styrofoam balls, so I used one of them to make the ball. I just covered it in red sugarpaste. I glued the ball beside the bat and it was a big mistake. Because I wanted to put the grass with green royal icing, and it was difficult to put the grass around the ball. So make sure you put the grass first and then keep the ball on that...


Here is one with the grass........


I finished it by adding the wordings, an edible image cutout of a Kookaburra logo and a ribbon around the board.

More Cakes........


Here are some more cakes that I did..


A Cricket Bat and a Ball. I will be posting a Step by Step on how to make the cricket Bat!!


Teddies and Baby Blocks Christening Cake. I enjoyed so much making this cake. I followed two videos, one to make tiny teddy bears from LorraineMcKay and if you want to learn how make these cute little bears, click here. I also used A fabulous video on making baby blocks from Elaine Thomas, and if you like to learn how to make them, clicl here.


Casino themed 80th Birthday cake. I used sugarpaste to make the chips and the dices. But I cut some card shapes out of pastillage and let them dry completely and attached edible playing cards.


Another cutting cake to go with the Casino Cake..


And a Halloween Birthday Cake. I modeled the pumpkin free handed and really pleased with it.


Tuesday 1 November 2011

Cakes from last few months...


Here are some cakes that I did from last few months....

A Christening cake for a little girl.


Closeup of the Roses.


Pipi Longstocking cake..


And some Cupcakes....


Pearl Anniversary cake...


And Under the Sea theme cake...


Tuesday 13 September 2011

Eeyore!!!!

Here is my favourite and most enjoyed cake that I have done so far.


As per lot of requests, here is the template for it. I baked two 6" cakes. One is round and the other is a square.


I used the round cake to carve the face. I cut a little piece, slightly angled to get the wider part of the face. I didn't do anything to the height of the cake. Just cut the shape..


Then from the square cake, I carved the body.


After you have removed the three pieces that I have written "discard" from the left top corner, right top corner and right bottom corner, you need to shape it a little bit until you get a nice tear drop hape. Then you cut a piece from the left bottom corner like on the picture, so you can place the head (the narrow part of the face) into possition.


I will post some photos of the cake in progress when I get to do it again.

Wednesday 7 September 2011

Baby in the basket cake..


I had an order for the same baby in the basket cake which I did for my daughter's christening. I loved doing that and this time I added few butterflies too.


Close up of the basket.


Here is how I made the basket.


Things that you need....


Work board


Rolling pin


A basket weave rolling pin


Pastillage


White sugarpaste


Pink flowerpaste


butterfly cutter


Sugar glue


Tiny paint brush


Cling film


Cornflour


First Impression baby mould


When I made the basket for my daughter's chrsitening cake, I used sugarpaste/fondant. But this time I thought I would make a mould from styrofoam. So I contacted few places who specializes making styrofoam dummies for cakes, but no one couldn't do it for me. I then used a 6" round dummy cake that I had, to cut the basket shape out of it. If you can't do it, then make the basket out of sugarpaste. Here is the photo of the styrofoam basket.


Then I wrapped it in clingfilm and dusted it with some cornflour. Then turn it upside down and stick it to the work surface with some bluetack/sticky tape, so it stops moving when you start to cover it.


Then roll out some pastillage and cut a strip to the height if the basket. Then wrap it around the basket and glue the seems together with sugar glue.


Close up of the wrapped pastillage strip.


Then cut an oval shape from pastillage to go under the basket.


Once its all glued, put it in the airing cupboard to dry. Then unmould the basket. Roll out another strip from sugarpaste using the basket weave rolling pin.


Here is the close up of the wrapped sugarpaste.


Then I took another strip of sugarpaste and covered the inside of the basket. I then used some rolled out pink flowerpaste and glued it to the edge of the basket on the top and on the bottom.


Here is another close up photo.


As the basket was a bit deep I hand modeled a small oval shaped cusion and glued it inside the basket. I made some frills by using two sizes of pastry cutters, cut them in half and frilled them with a toothpick. Then glued that around the cusion.


Close up of the inside of the basket.


I made the baby one day ahead so it can dry properly. I used the First Impression baby mould to make the baby. Here is where I bought it from. I put a nappy by cutting a triangle shape out of pink flowerpaste and made two tiny ribbon roses to go on the head.


Here is the baby in the basket.


Tuesday 6 September 2011

Orchid wedding cake.

I had a request for this 5 tier wedding cake. Top 3 tiers are eggless cake and the bottom two are Vanilla sponge cakes. The Moth orchids are made out of flowerpaste, but I coloured a soft lilac colour paste, deep purple. I stacked all 5 tiers at home. It was so nerve-racking when the time came for delivery. But my dear husband did a great job by driving so carefuly.

More Cakes from last few weeks.


Here are some cakes that I did last few weeks. I had to do few carved cakes, which I am not so keen on doing.


I had to make two christening cakes for a little boy.


Click here for the carving instructions for the Rocket cake.


Sunday 24 July 2011

Christening cake for my baby girl - Dinaya......


Here is my little girl's christening cake. Loved every minute of making it....


Cutting Cake...


Close up of the bassinet and the baby. I used the First Impression Baby mould and the bassinet is done free handed.


And the cupcakes.....